Administrators configure the platform infrastructure that users operate on. This includes registering clusters, managing users and groups, setting up private registries and configuring target providers.
Permission Model
The Admin creates groups that define what users can do on the platform. Each group specifies:
Which clusters are accessible
Which permissions are granted (View, Run, Cancel)
Which registries are visible
Users inherit all permissions from their assigned group.
Admin creates Group
      │
      ├── Assigns Clusters (target-1, target-2, ...)
      ├── Assigns Permissions (View, Run, Cancel)
      └── Assigns Registry Visibility
            │
            └── Users in this group inherit everything
INFO
Every user must belong to a group. A user without a group has no access to the platform.
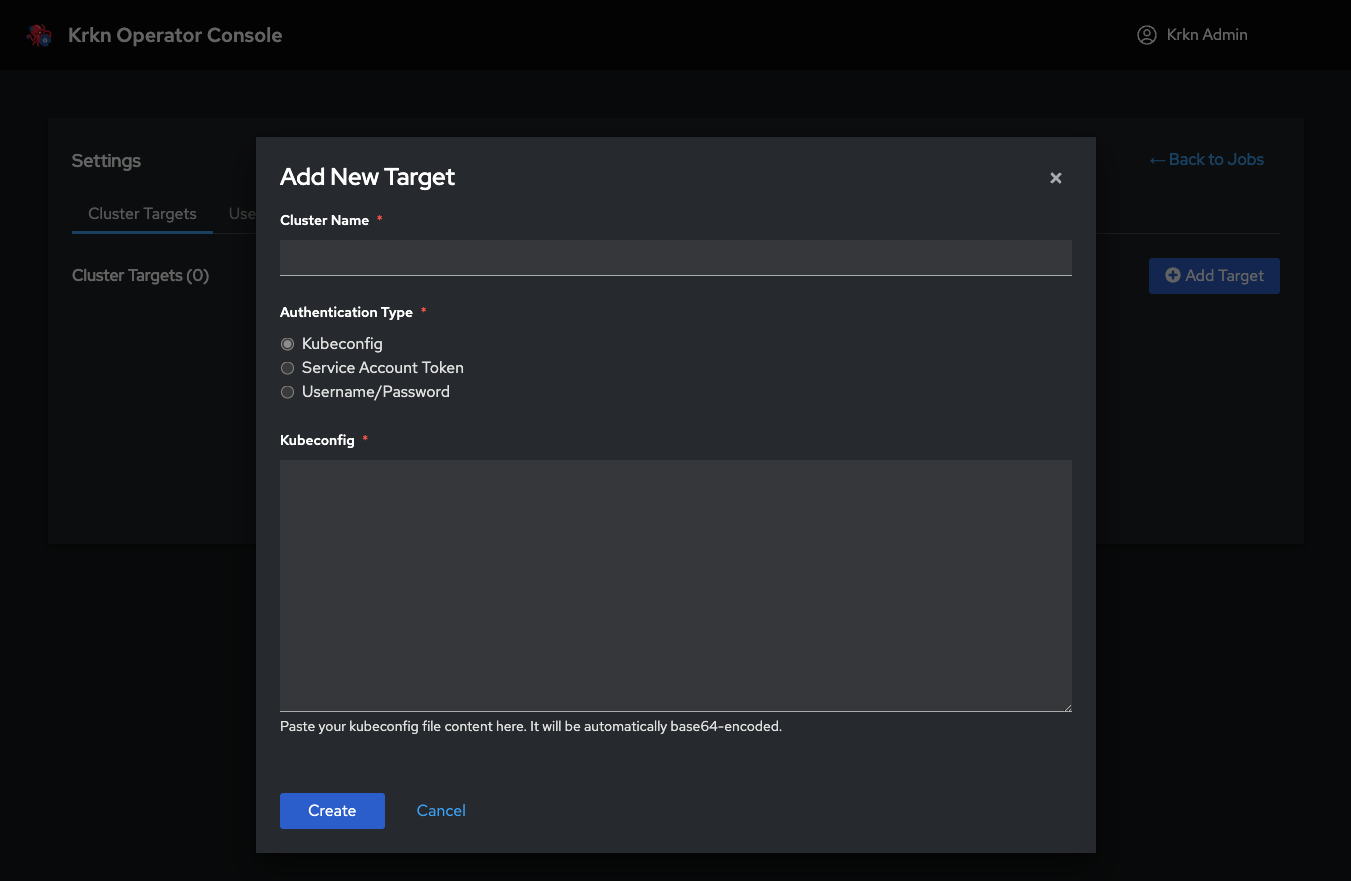
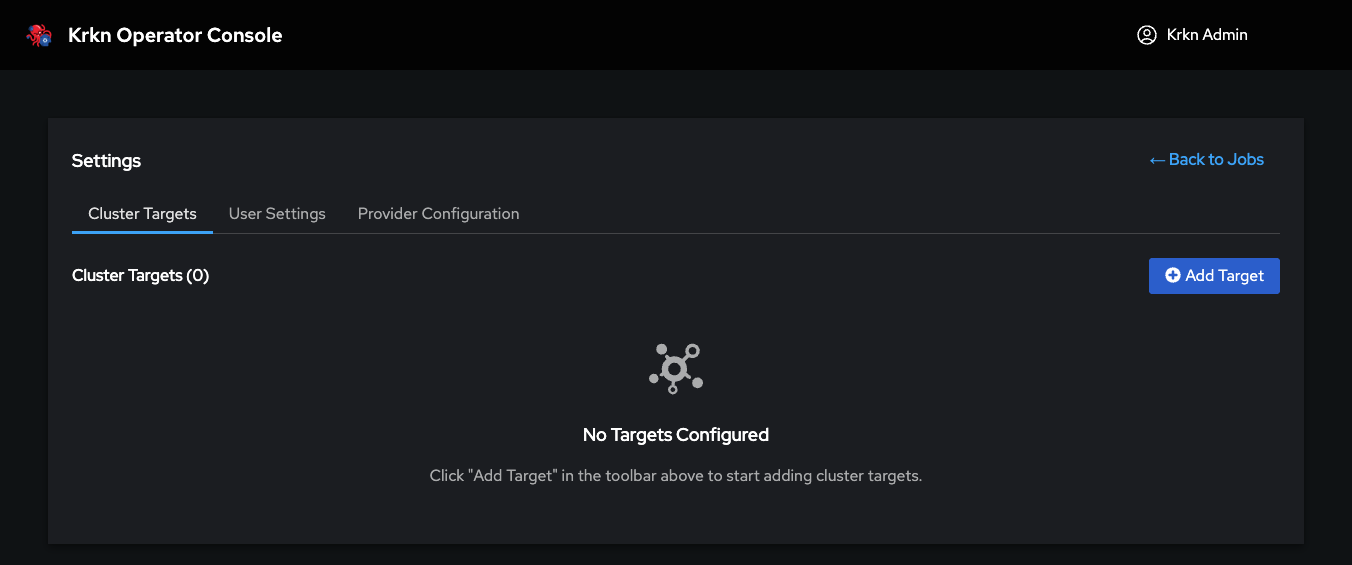
Register target Kubernetes clusters that will be available for chaos scenario execution. The operator runs on a control plane cluster and executes scenarios against registered targets — it never runs chaos against itself.
Operations
Operation
Description
Add Cluster
Register a new target cluster by providing its name and kubeconfig
View Clusters
Browse all registered clusters and their status
Delete Cluster
Remove a cluster from the platform
Once registered, clusters become available for assignment to groups through User Management.
Organize users through groups that define cluster access and permissions. The group is the central unit of the permission model — users inherit all capabilities from their assigned group.
Groups
A group defines what its members can access and do on the platform.
Field
Description
Name
Group identifier
Description
Purpose of the group
Cluster Permissions
Which registered clusters this group can target
Groups also receive permission flags that control what operations their members can perform:
Permission
What it grants
View
View jobs and execution results
Run
Execute scenarios, use Chaos Studio, access cluster terminal
Cancel
Cancel running jobs, and remove jobs and execution history
Users
Users are created and assigned to a group during creation.
Field
Description
User Data
Username, credentials
Group
The group this user belongs to
INFO
Group assignment is mandatory. Every user must belong to exactly one group. A user cannot be created without selecting a group. The group determines which clusters the user can target and which operations they can perform.
Permission Cascade
Group "SRE Team"
  ├── Clusters: production-us, production-eu
  ├── Permissions: View, Run
  └── Members: alice, bob
        │
        ├── alice → can run scenarios on production-us, production-eu
        └── bob   → can run scenarios on production-us, production-eu
3 - Registry Management
Configure private container registries and visibility
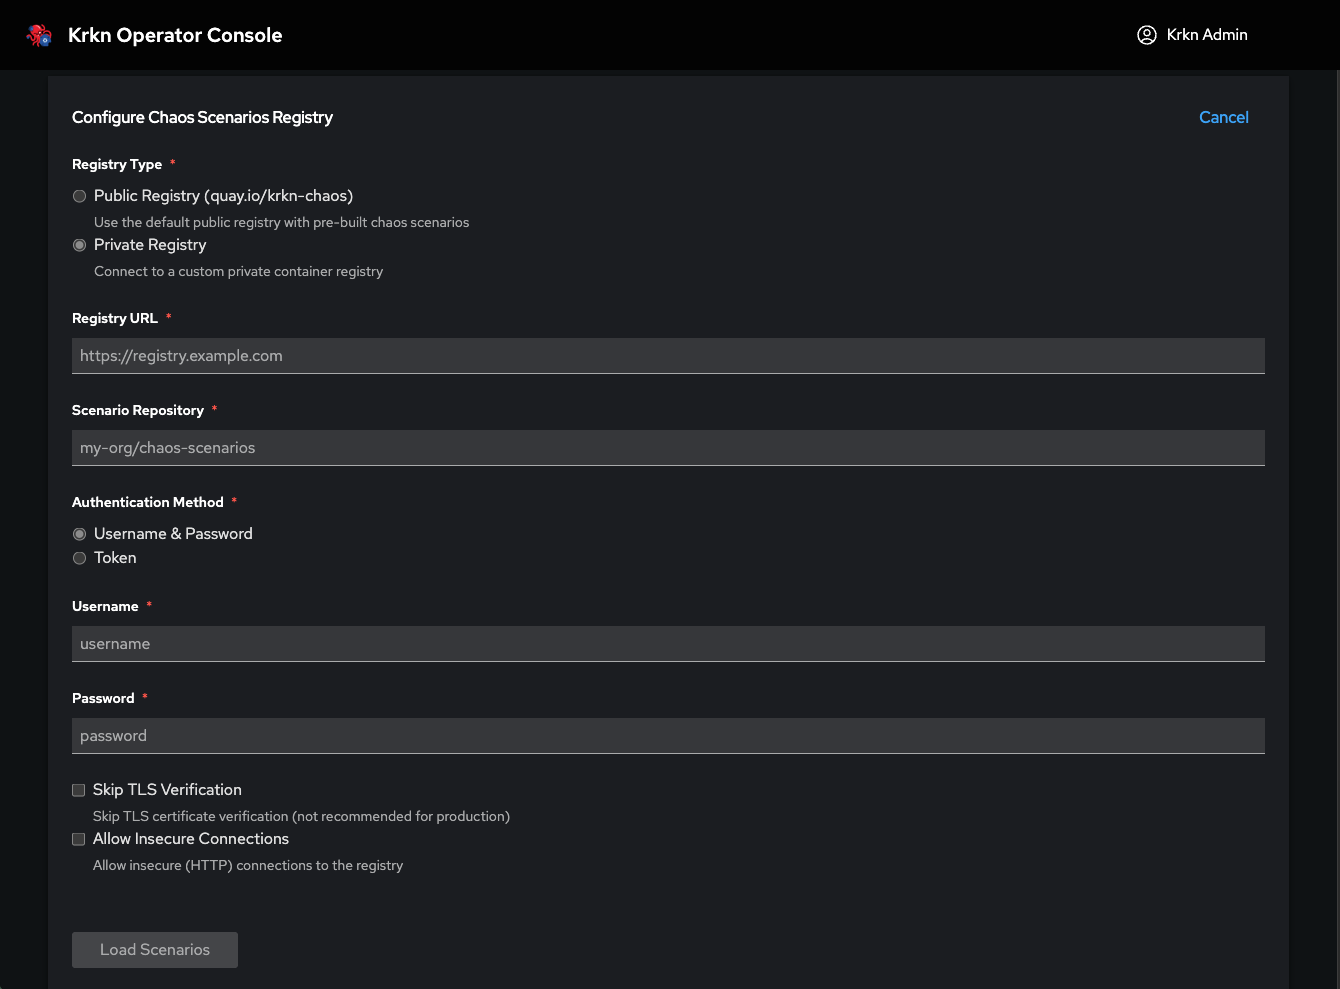
Configure private container registries for chaos scenario images and control which groups can access them. By default, scenarios are pulled from the public Quay.io registry. Private registries enable air-gapped deployments and custom scenario images.
Creating a Private Registry
Configure a private registry by providing its connection settings (URL, credentials, TLS configuration).
Visibility
Each registry has a visibility setting that controls who can use it:
Visibility
Description
Everyone
All users on the platform can select this registry
Group-based
Only users belonging to assigned groups can see and use this registry
Impact on Scenario Selection
When a user selects a private registry during scenario execution, only the scenarios that have been mirrored to that registry will be available. Scenarios not present in the private registry will not appear in the selection list.
INFO
Air-Gapped Environments: The operator uses OCI registry APIs for scenario metadata. A private registry configuration allows the platform to function completely in disconnected environments without external connectivity.
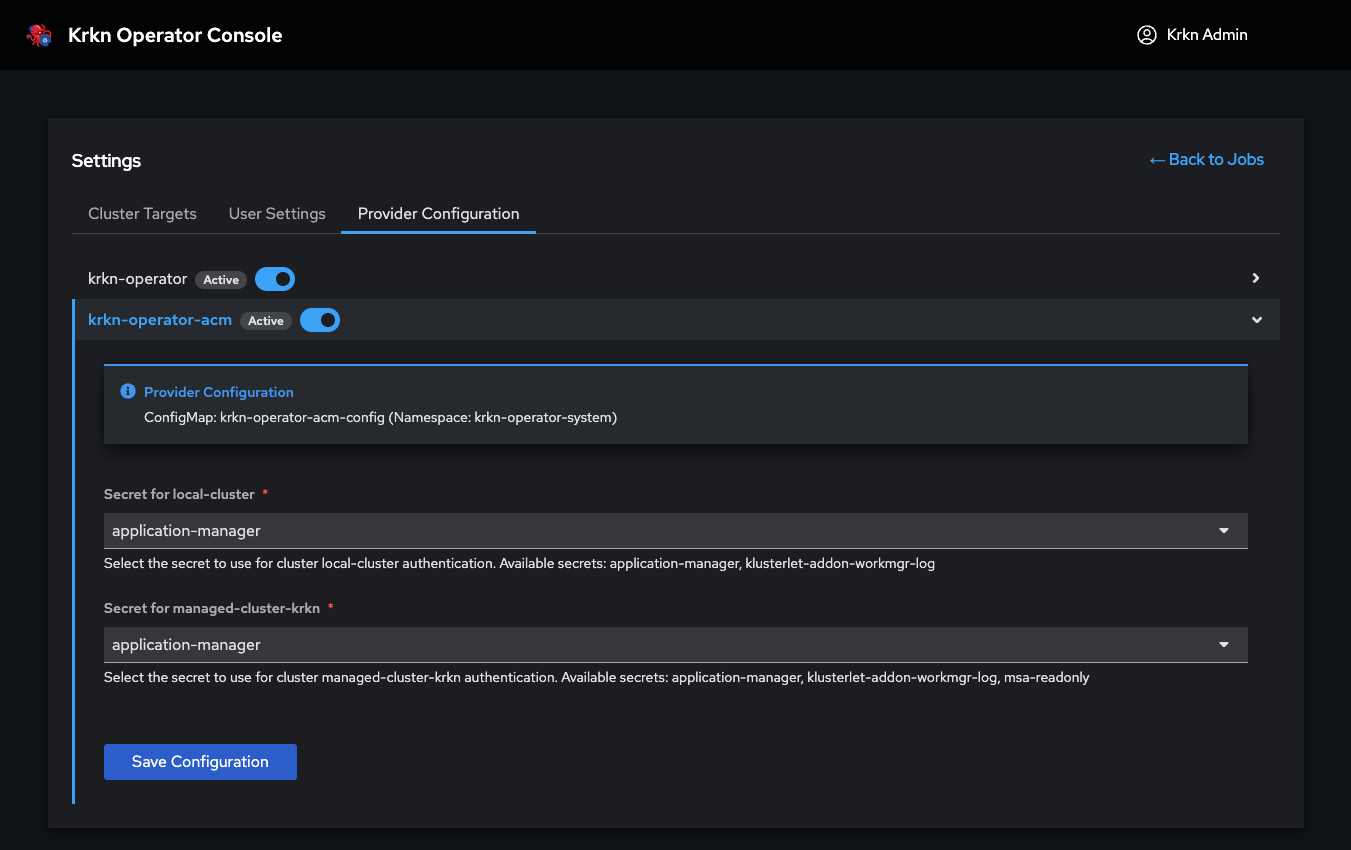
Configure target providers that integrate with external cluster management platforms. The provider configuration interface adapts dynamically based on the selected provider.
Supported Providers
Provider
Description
ACM / OCM
Automatically discover and synchronize managed Kubernetes clusters through Red Hat Advanced Cluster Management or Open Cluster Management
INFO
The provider configuration interface is designed to be extensible. As new integration operators are developed, their configuration panels will appear automatically in this section.
Cloud Provider Configuration
Some chaos scenarios interact directly with cloud infrastructure and require cloud provider credentials (AWS, GCP, Azure, OpenStack, etc.) to perform node-level operations. The following scenarios are not currently available in Krkn Operator until cloud provider configuration support is added:
Scenario
Why Cloud Provider Is Required
node-scenarios
Stops, terminates, or reboots nodes via the cloud provider API
node-scenarios-bm
Controls bare metal nodes via BMC/IPMI credentials
power-outages
Shuts down and restarts the entire cluster through the cloud provider
zone-outages
Simulates availability zone failures by manipulating cloud network resources
INFO
Cloud provider configuration is not yet supported in Krkn Operator. The scenarios above cannot be executed until cloud provider credential management is introduced. This page will be updated when that support becomes available.
5 - Elasticsearch Management
Configure saved Elasticsearch endpoints for platform-wide observability
Administrators can configure and save Elasticsearch endpoints that users can reference when executing chaos scenarios. This enables centralized observability configuration without requiring users to manually enter connection details.
Overview
Elasticsearch integration allows krkn scenarios to index execution metrics, logs, and telemetry data for analysis and historical tracking. Instead of requiring each user to configure Elasticsearch details manually, admins can:
Pre-configure Elasticsearch endpoints with connection details
Save named configurations for reuse across all scenarios
Control which Elasticsearch endpoints are available platform-wide
Users can then select from the saved Elasticsearch configurations when setting global parameters during scenario execution.
INFO
Users can select saved Elasticsearch configurations but cannot add new ones. Only admins have permission to create, edit, or delete Elasticsearch endpoints.
Adding an Elasticsearch Endpoint
Navigate to Administration > Elasticsearch Management
Click Add Elasticsearch
Configure the following details:
Field
Description
Required
Name
Friendly name for this configuration (e.g., “Production ES”, “Dev Cluster”)
Index name or pattern for storing krkn data (e.g., krkn-chaos-*)
Yes
Username
Authentication username (if required)
No
Password
Authentication password (if required)
No
Verify SSL
Whether to verify SSL certificates (toggle)
Yes
Click Save to add the configuration to the saved list
Managing Saved Configurations
View Saved Elasticsearch Endpoints
The Elasticsearch Management page displays all saved configurations:
Name: Friendly identifier shown to users
URL: Elasticsearch endpoint
Index: Target index pattern
Actions: Edit or Delete options
Edit an Endpoint
Click the Edit icon next to the saved configuration
Modify any field (Name, URL, Index, credentials, SSL verification)
Click Save to update
INFO
Editing a saved Elasticsearch configuration affects all scenarios currently using it. Changes apply to future scenario executions immediately.
Delete an Endpoint
Click the Delete icon next to the saved configuration
Confirm the deletion
INFO
Deleting an Elasticsearch configuration does not affect running scenarios, but it will no longer be available for selection in new scenario executions.
How Users Select Elasticsearch
When users configure global parameters for a scenario or workflow, they can:
Expand the Global parameters section
Locate the Elasticsearch parameter
Click the dropdown to view all saved Elasticsearch configurations
Select an Elasticsearch endpoint by name (e.g., “Production ES”)
The selected configuration automatically applies the admin-defined connection details (URL, index, credentials) to the scenario execution.
Users cannot:
Add new Elasticsearch endpoints from the scenario configuration interface
Edit existing saved configurations
View sensitive details like passwords (only admins can see/edit credentials)
Users can:
Choose from the dropdown list of saved Elasticsearch endpoints
Opt not to use Elasticsearch (by leaving the parameter unset)
Best Practices
Naming Conventions
Use descriptive names that indicate the purpose or environment:
✅ Production Observability
✅ Staging Metrics
✅ Dev Team Shared ES
❌ ES1, Elasticsearch, Test
Security
Use dedicated credentials for krkn with limited write permissions to specific indices
Enable SSL verification for production endpoints
Restrict index patterns to prevent accidental data overwrites (e.g., krkn-* not *)
Index Patterns
Use time-based or scenario-based index naming:
krkn-chaos-{YYYY-MM-DD} — daily indices for easy retention management
krkn-scenarios-* — scenario-specific index pattern
krkn-{environment}-* — environment-specific indices