The operational features of Krkn Operator are available to all users, scoped by the permissions assigned to their group. This section covers the day-to-day workflow: running scenarios, designing workflows, monitoring jobs and managing files.
Users only see data from their own group. A cluster-wide indicator shows the names of currently running scenarios across all groups, but without details.
Features
Jobs — Monitor and inspect scenario execution results
Cluster Terminal — Explore target clusters with read-only commands
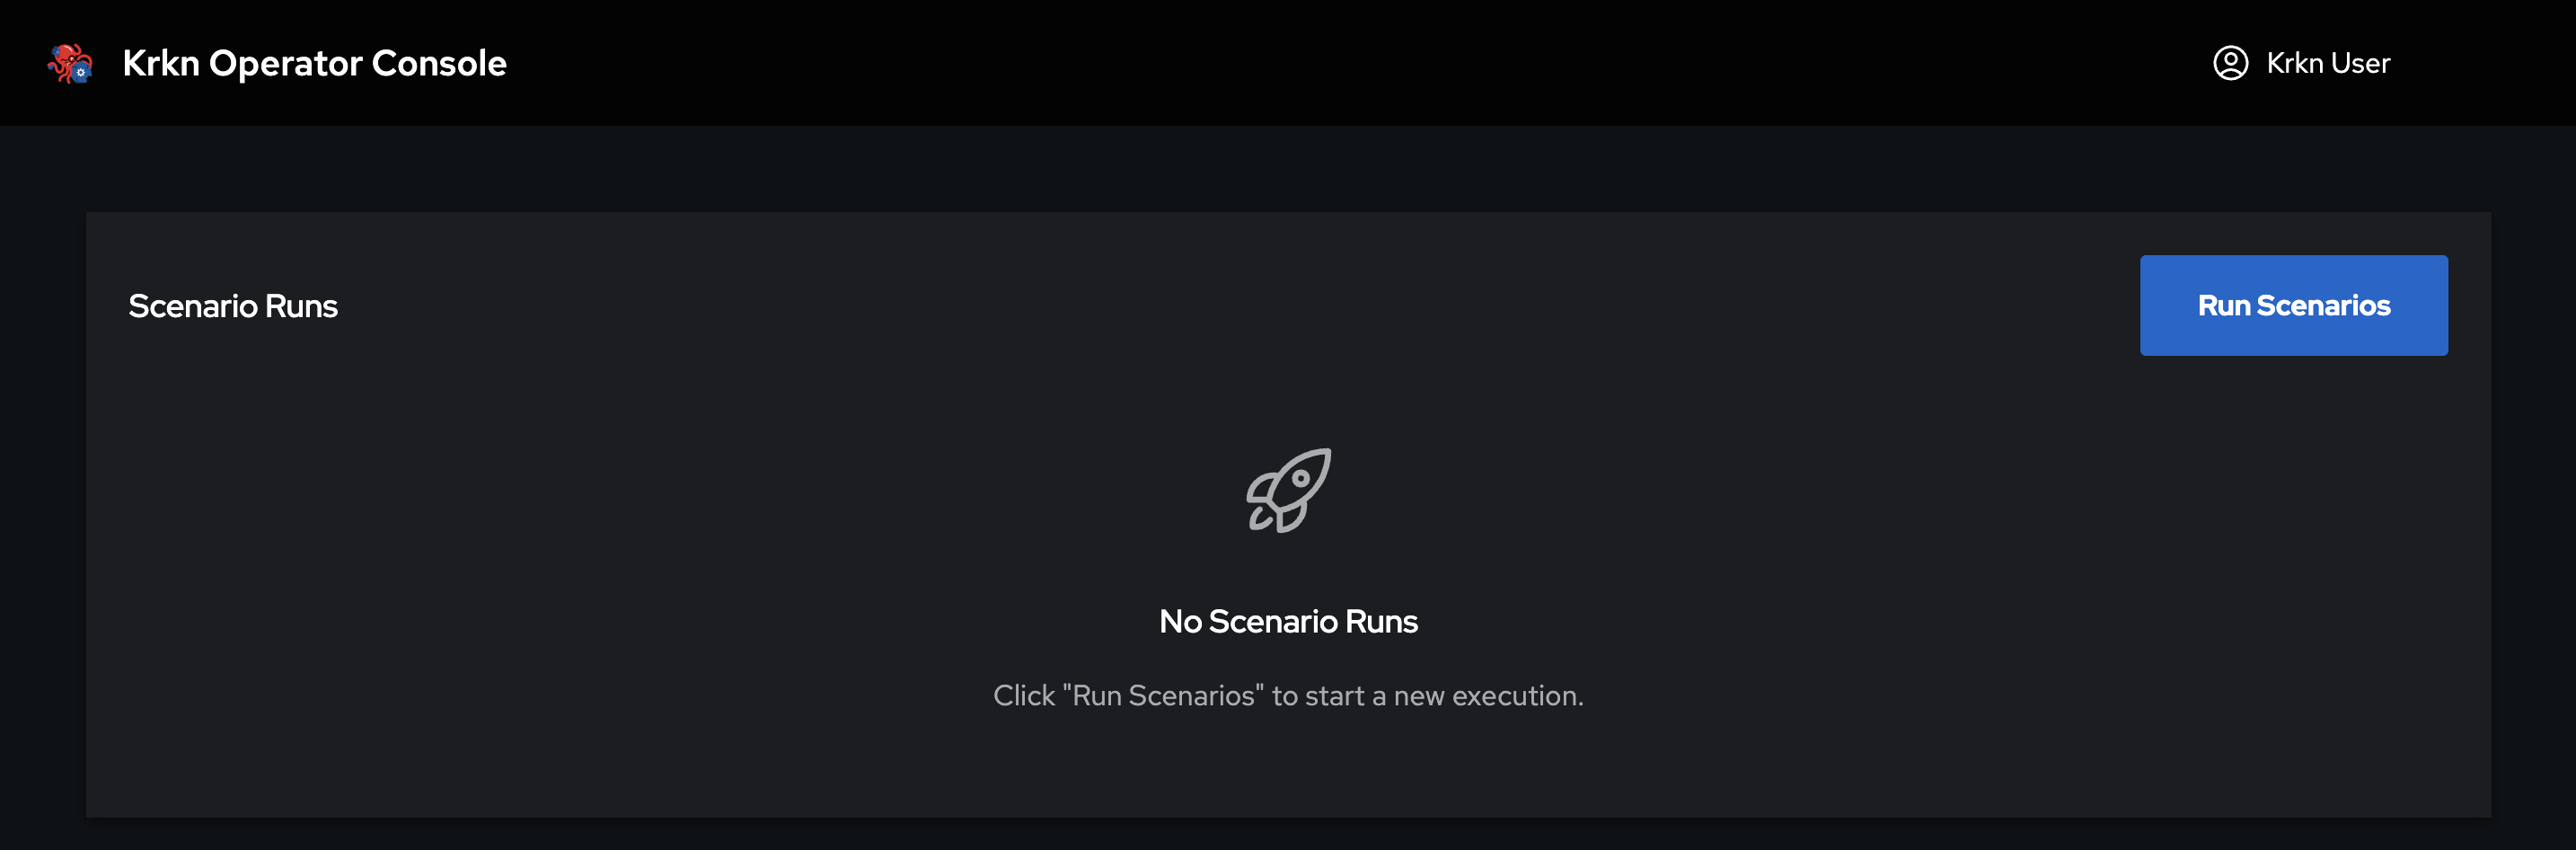
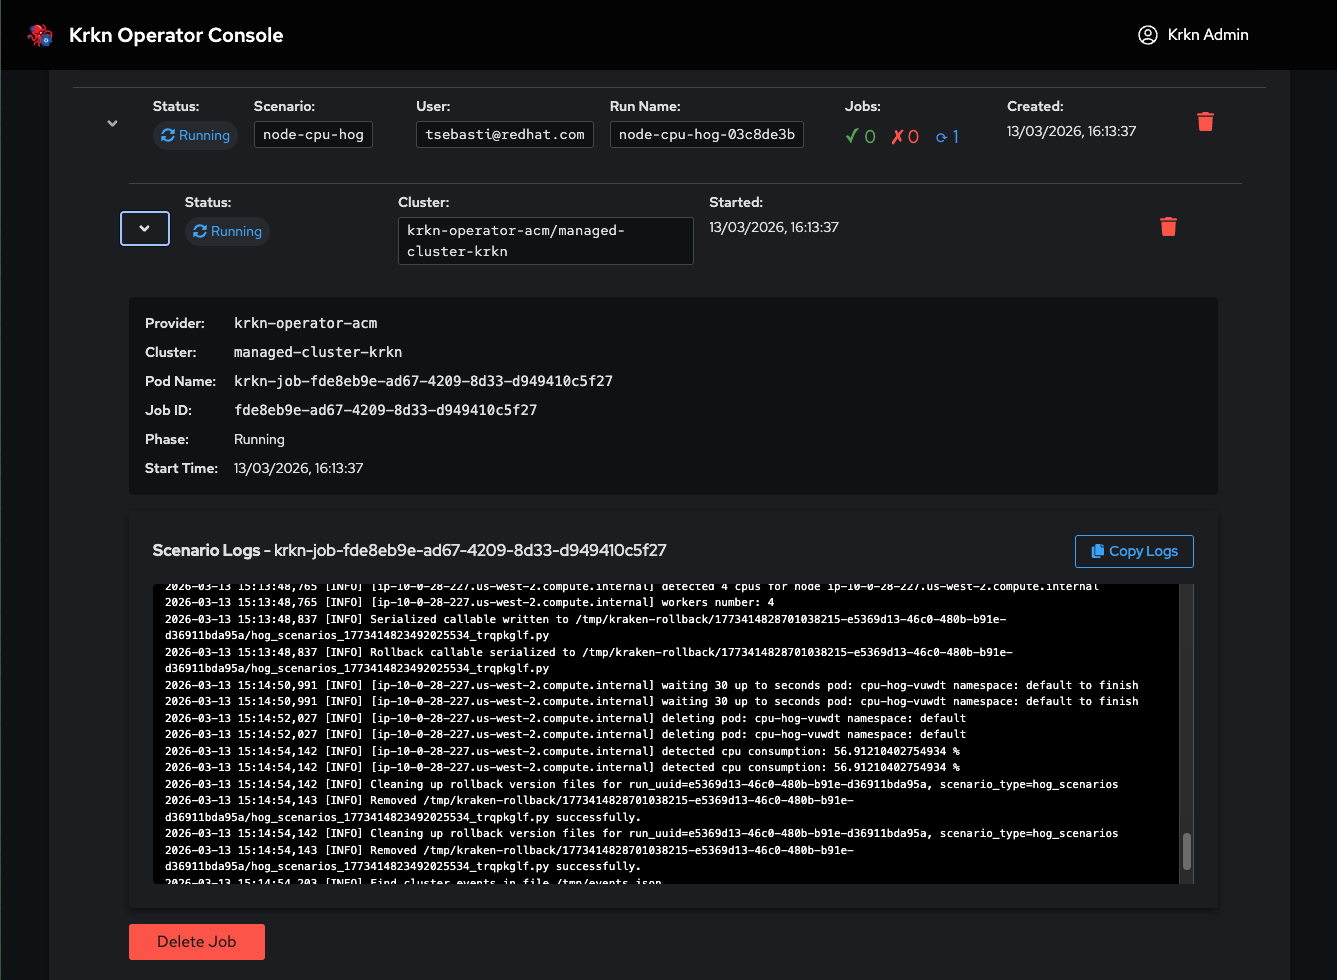
The Jobs list is the home screen of the platform. It displays all scenario executions for your group, with real-time status updates and access to logs and results.
Run Types
Single Run
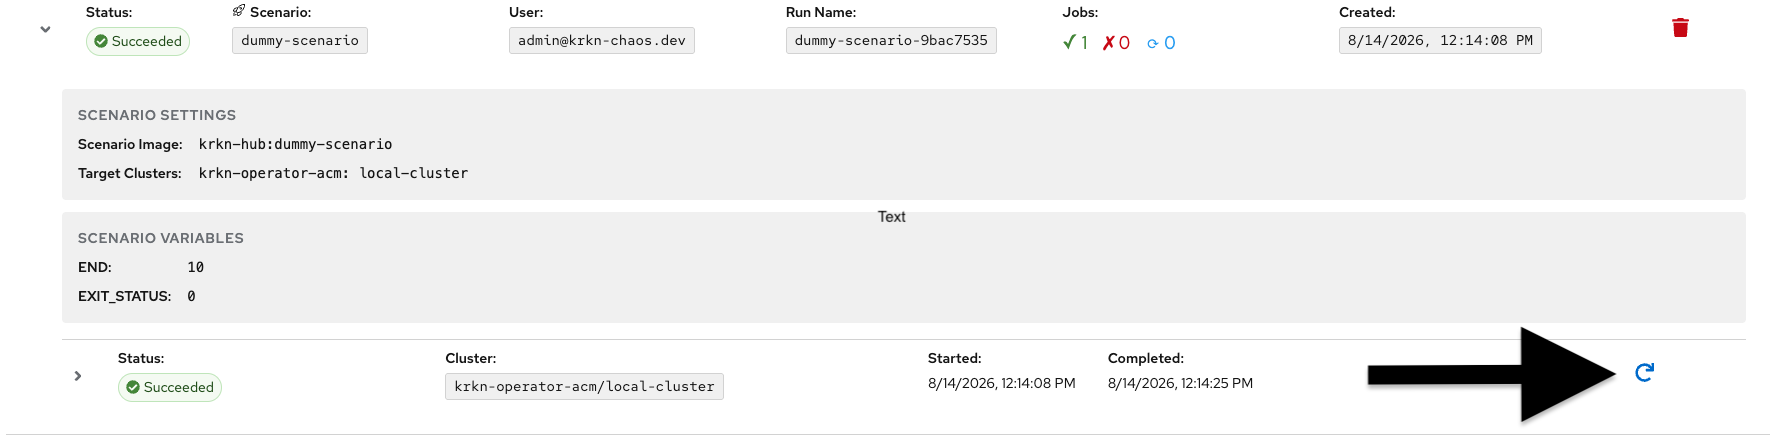
A single scenario execution on one or more target clusters. For each run you can inspect:
Execution outcome (success, failure)
Console logs of the krkn pod that executed the scenario
Replay & Edit
Single runs can be replayed to re-execute the same scenario with the same configuration. You can also edit the details before replaying to modify:
Target cluster(s)
Scenario parameters
Configuration values
Run Name
This allows you to quickly iterate on chaos experiments or run the same test across different environments.
Graph Run (Chaos Studio)
A workflow execution created through Chaos Studio. The execution is displayed as a graph where each node represents an individual krkn scenario. For each node you can inspect the outcome and logs independently.
Graph runs can include a Resiliency Score — a calculated metric based on PromQL queries executed during the workflow. This score measures how well the target application withstood the chaos experiment.
INFO
Resiliency Score is a key differentiating feature of Krkn Operator. It transforms chaos experiments from pass/fail tests into quantitative resilience measurements. See Chaos Studio for details on configuring it.
Visibility & Permissions
Only jobs from your own group are displayed
A cluster-wide tip shows the names of scenarios currently running across all groups (no details)
Cancelling or removing jobs requires Cancel permission
A built-in terminal for exploring target clusters using read-only oc and kubectl commands. Useful for inspecting cluster state before, during or after chaos experiments.
Details
Read-only: only read commands are available — no modifications to the cluster are possible
Supported commands: oc and kubectl
Target selection: only clusters accessible to your group are available
Execute a chaos scenario on one or more target clusters through a guided step-by-step wizard. All scenarios can run simultaneously across multiple clusters.
Execution Flow
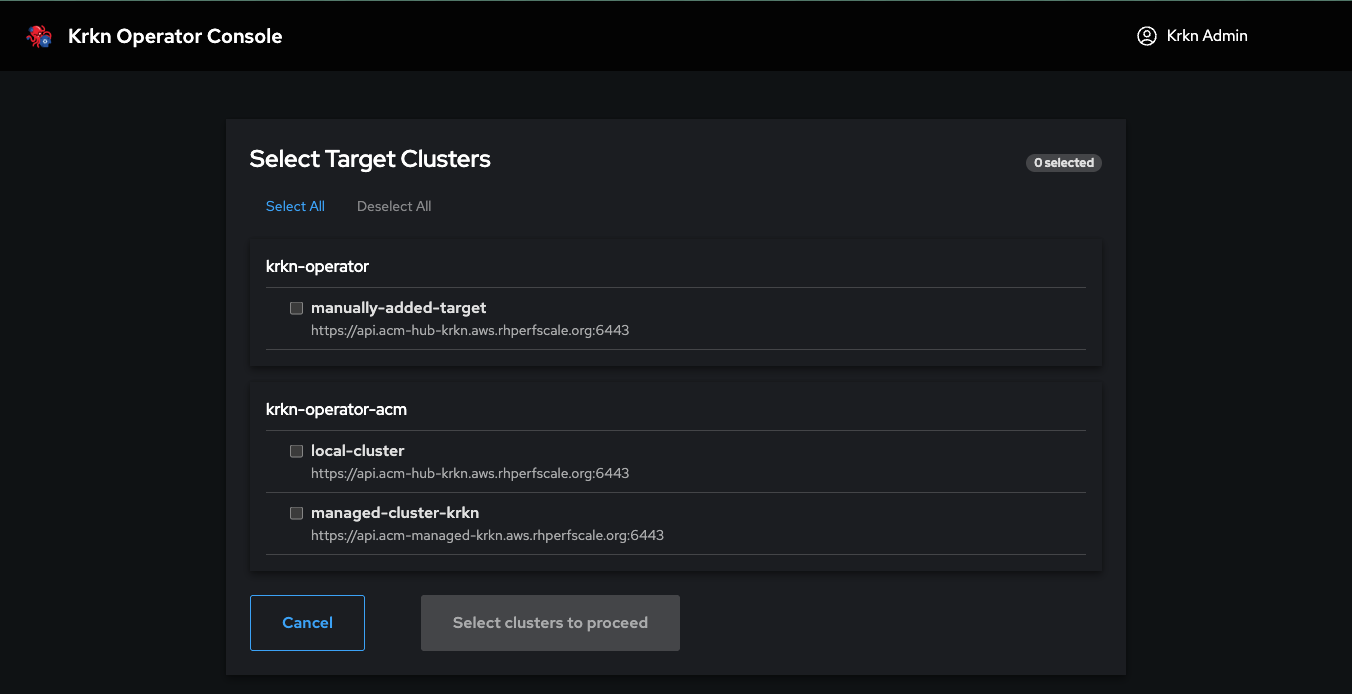
1. Select Target Clusters
Choose one or more clusters to run the scenario on. All selected clusters execute the scenario simultaneously.
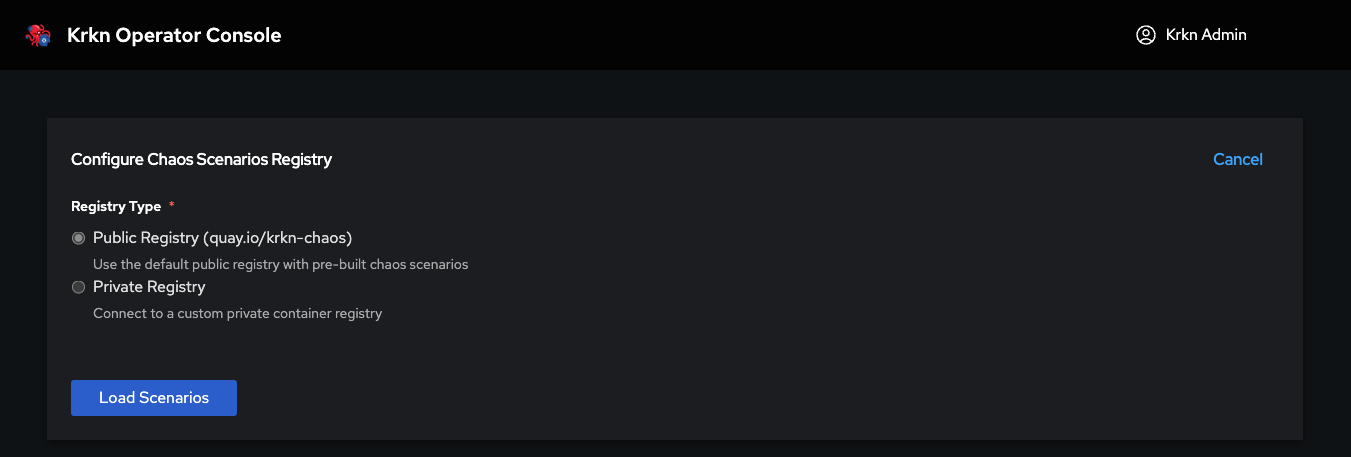
2. Select Registry
Choose the container registry for scenario images:
Registry
Description
Public (Quay.io)
Default registry with all community scenarios
Private
Configured by admin, only mirrored scenarios available. Visibility controlled by group permissions
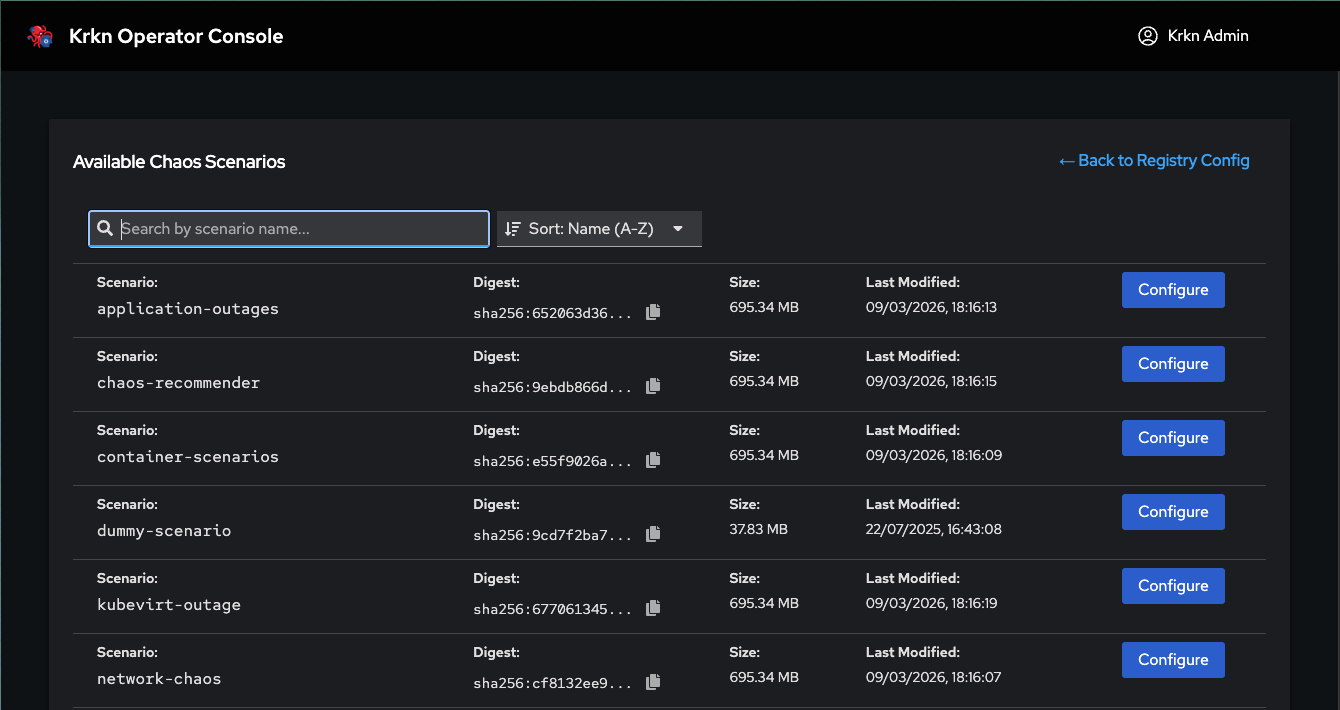
3. Select Scenario
Browse and select a chaos scenario from the chosen registry.
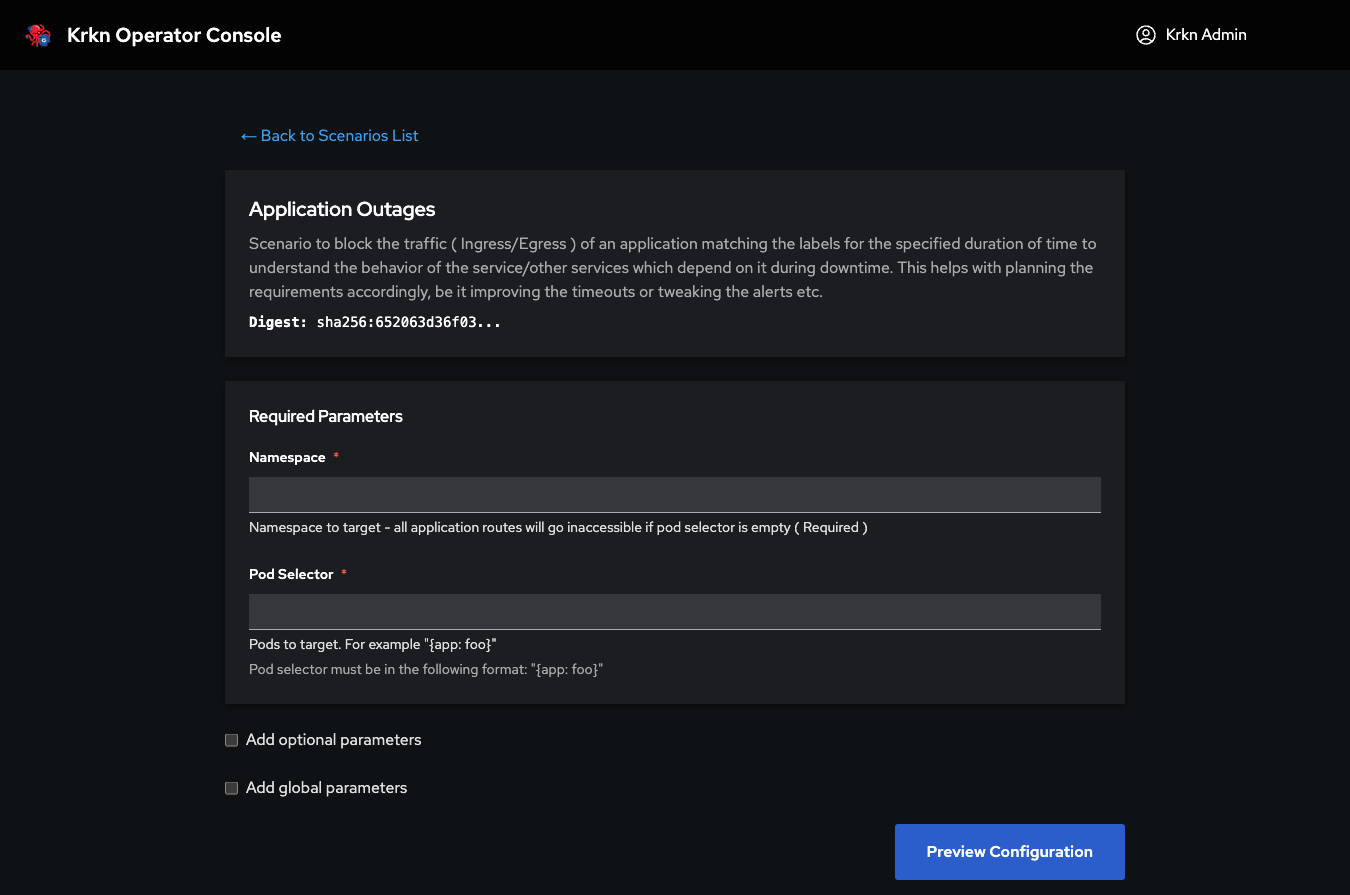
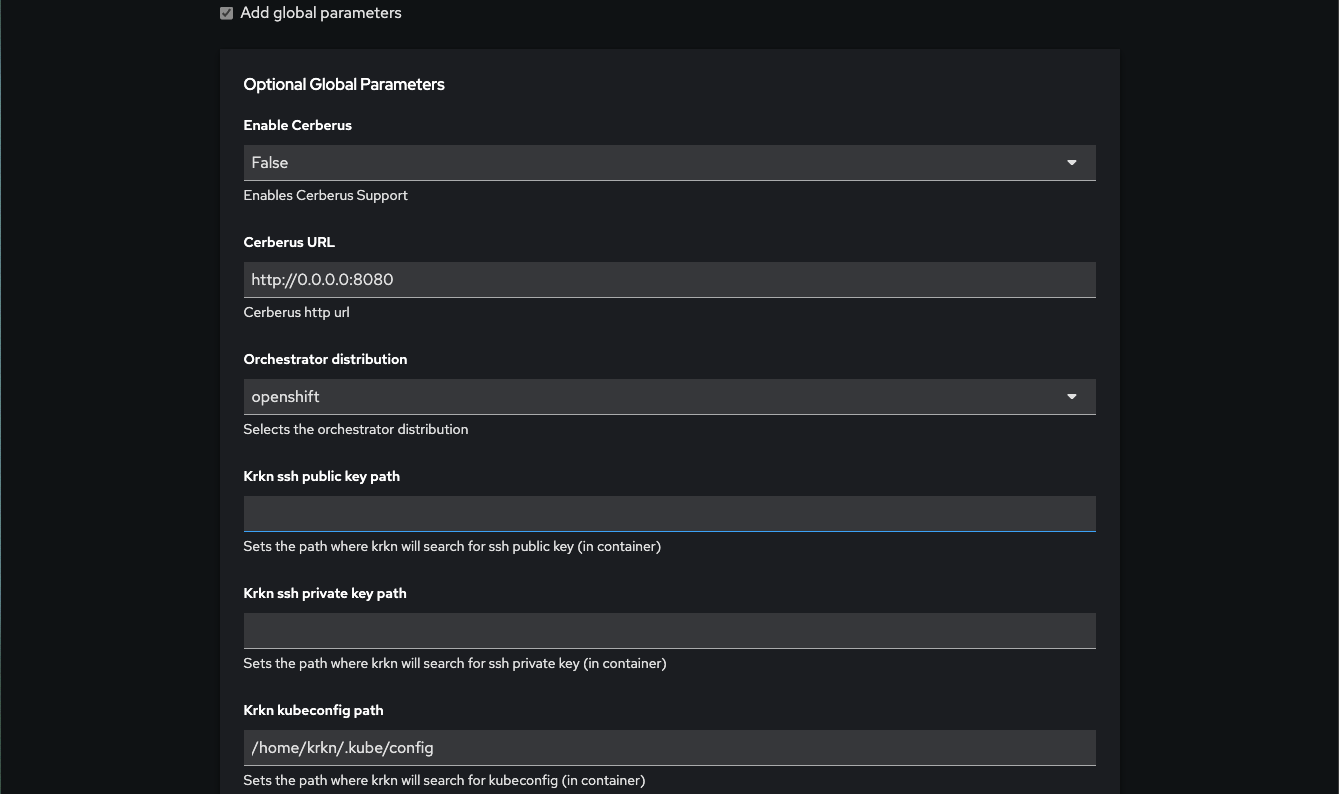
4. Configure Parameters
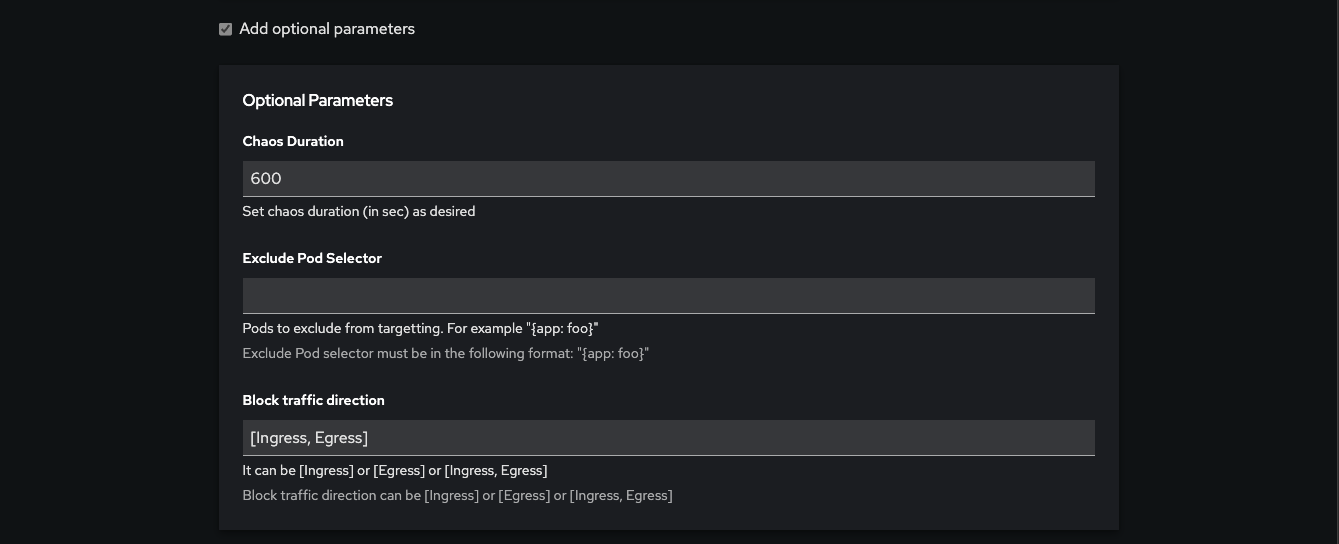
Each scenario defines its own parameter set, divided into three categories:
Category
Description
Mandatory
Must be configured before execution. Not all scenarios have them
Optional
Fine-grained control over scenario behavior (label selectors, timing, filters)
Global
Framework-level settings (Elasticsearch, Prometheus, Cerberus integration). Applied only if modified from defaults
Elasticsearch in Global Parameters
When configuring Global parameters, you can select a saved Elasticsearch endpoint to index scenario metrics and telemetry:
Expand the Global parameters section
Locate the Elasticsearch dropdown
Select from available saved configurations (configured by your admin)
INFO
You can select from saved Elasticsearch configurations but cannot add new ones. Contact your administrator to add additional Elasticsearch endpoints.
Selecting an Elasticsearch configuration automatically applies connection details (URL, index, credentials) without requiring manual input.
5. Mount Files
Optionally attach configuration files previously uploaded through File Management. Files are available via a select dropdown.
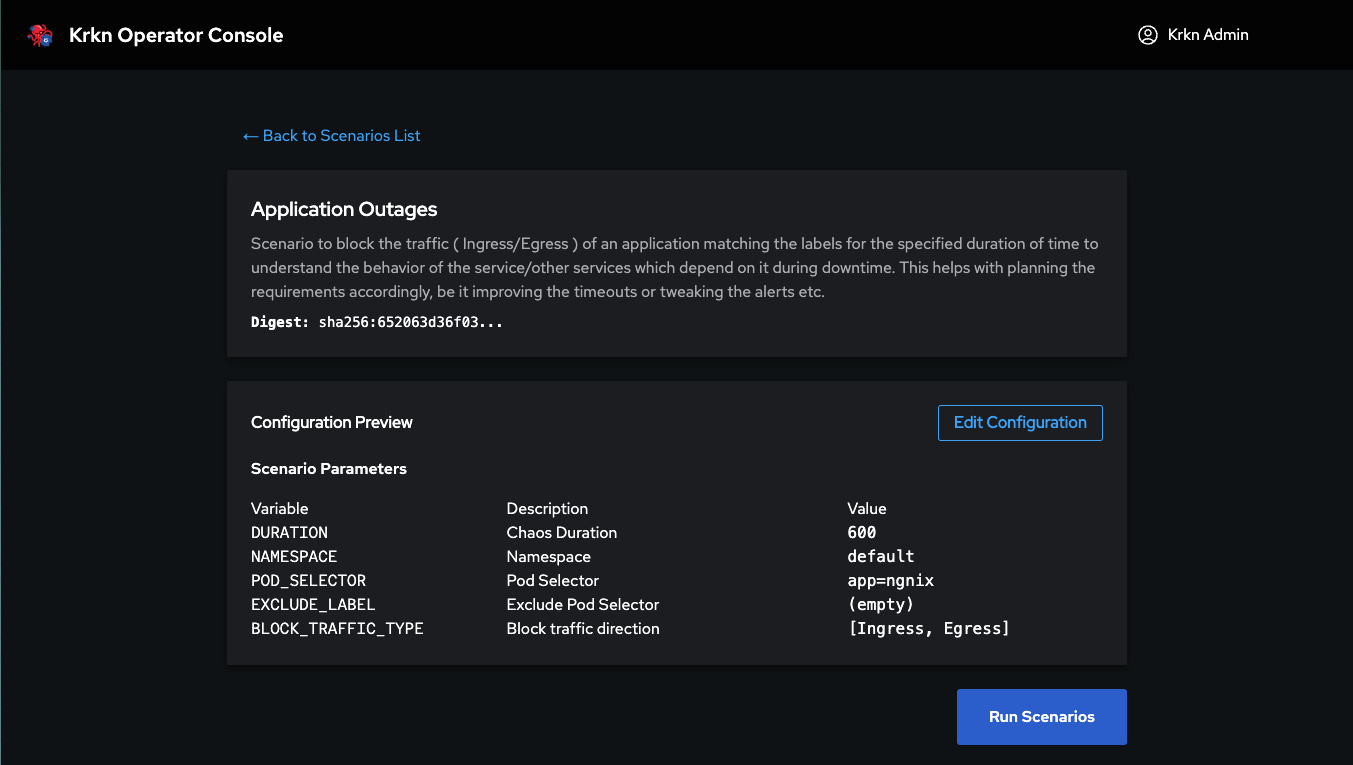
6. Preview
Review a summary of all configured parameters before execution.
7. Run
Launch the scenario. You are redirected to the Jobs page where you can monitor the execution in real time.
4 - Chaos Studio
Design visual chaos workflows with serial and parallel execution
A visual drag-and-drop editor for designing complex chaos workflows. Build graphs of scenarios that execute in series or parallel, and measure application resilience with the Resiliency Score.
Creating and Saving Workflows
Creating a New Workflow
Navigate to Chaos Studio from the main navigation
Click the “New Workflow” button to start a blank canvas
Give your workflow a meaningful name that describes its purpose
Adding Nodes
Click the “Add Node” button or drag from the node palette
Position nodes on the canvas by dragging them
Configure each node by clicking on it and selecting:
Registry: Choose your scenario source
Scenario: Select the chaos scenario to run
Parameters: Set mandatory and optional parameters
Files: Mount any required configuration files
Connecting Nodes
Click and drag from a node’s output port to another node’s input port to create dependencies
Serial execution: connect nodes in a chain (A → B → C)
Parallel execution: connect one node to multiple targets (A → B and A → C)
Saving Your Workflow
Click the “Save” button in the top toolbar
The workflow is automatically saved to your workspace
Saved workflows appear in the Chaos Studio workflow list
You can edit saved workflows by selecting them from the list
Video Walkthrough
Visual Editor
Nodes represent individual krkn scenarios
Arrows define execution order — connect nodes to create dependencies
Serial execution: chain nodes sequentially with single arrows
Parallel execution: branch from one node to multiple targets
Drag and drop to arrange the workflow visually
Node Configuration
Each node is configured exactly like a single scenario: select a registry, choose a scenario, set mandatory/optional/global parameters, and mount files.
Global Parameters in Workflows
When configuring global parameters for workflow nodes:
Elasticsearch: Select from saved admin-configured endpoints to index metrics across the entire workflow
Prometheus: Configure Prometheus integration for metric collection
Cerberus: Enable cluster health monitoring during scenario execution
INFO
Configure Elasticsearch in global parameters to track metrics across all nodes in a workflow. This provides centralized observability for complex multi-scenario executions.
Clone: duplicate a configured node to repeat the same scenario multiple times within the workflow.
Validation
The editor validates the workflow before execution:
Configured nodes: green arrows and connections — ready to execute
Unconfigured nodes: red arrows and red node border — must be configured before the workflow can run
Only fully configured nodes can be connected and executed.
Resiliency Score
INFO
Resiliency Score quantifies how well your application withstood a chaos workflow. Instead of a simple pass/fail, you get a numeric score based on real application metrics.
Enable the Resiliency Score on a workflow to measure application resilience:
Enable the resiliency score option on the workflow
Mount a PromQL file — a special file containing PromQL queries uploaded via File Management
Queries execute during the workflow and their results contribute to the final score
View the score in the Jobs page alongside the graph run results
The PromQL file defines which metrics to evaluate (latency, error rate, throughput, etc.) and their expected thresholds. The score reflects how closely the application maintained its expected behavior under chaos.
5 - File Management
Upload and manage reusable configuration files
File Management
Upload and manage text-based configuration files that can be used across scenario executions and Chaos Studio workflows.
Uploading Files
Files are created by pasting content into the text input box — there is no file upload button.